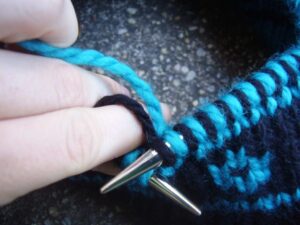
For the beginning knitter, the words double knitting may sound daunting and extremely complicated. The truth is that it can indeed be complicated but once you get started, it is like second nature. The key to getting to this comfortable spot is understanding the way the fabrics come together to make the perfect double knit stitch. Here you will learn a bit more about how to perform this type of craft work and why it is such a cool option for knitting!
Beginning Your Double Knitting Project
First let’s clarify what double knitting is in a simplified manner. This is an awesome technique that lets you make a double layer of knitted fabric that ends with you having a mirror image of color work all while knitting two layers are the same time. Looking at it like that does make it seem complicated! So, let’s start at the beginning and see if we cannot make this an easier and less threatening knitting tactic for you to apply to your own craft work!
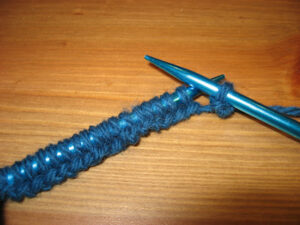
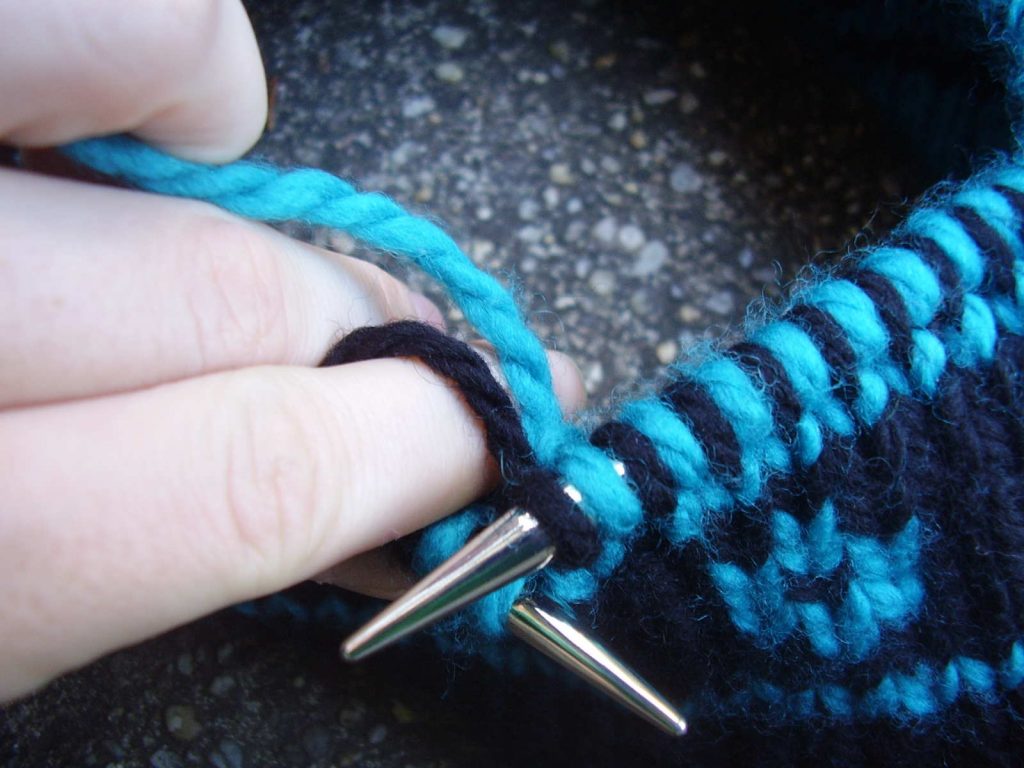
To start out you should cast the amount of stitches that you wish to work with. Keep in mind that you will need double the amount of stitches because the intention is to work with both sides of the chosen fabric at the same exact time. So, if you have 10 stitches on each side you will have 24 loops altogether. Since you are just learning, it is okay if you want to use only one color. However, using two colors makes it easier to tell what side you are working on and when. To actually begin with double knitting you only do the first stitch in the color that you have on top and both stings of yarn should be held in the back. The next stitch will be the other color (let’s say red). Though this is the very first stitch that you completed on the second side of your work, it will look like it is all one sided in the beginning.
The next step is to take both strands of yarn and put them in the front. This is the purl stitch and is done with the second color. Before making your stitch you must cross or twist the two strands and this hooks the layers together so you are knitting one full piece instead of two separate pieces! When purling the underside of your work you are making a second layer and this will be the outfacing side of your work. This is what the double stitch is.
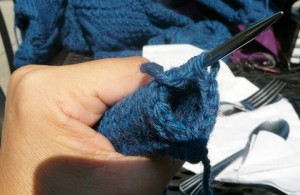
Now that you have come this far it is time to place both strands of yarn at the back before the next stitch is created. Next move the yarn forward and purl the stitch. Do these until you have completed an entire row and then keep going! This is what is known as knitting and purling and what makes a double stitch a double stitch!
Rules of Engagement for Double Knitting
When performing the double knit, it is very important to remember that both strands of yarn must move when you are making a stitch. If you do leave a strand behind it will leave carry over in the front and will not look properly put together. Also remember that you should keep a decent amount of tension on both sides of your work. This will help you to remember where your yarn goes and will also help things keep looking smoothly put together.
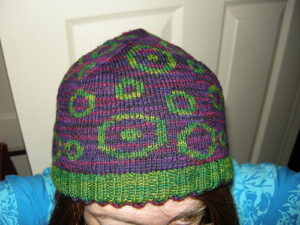
When it comes to this style of knitting, the options are endless for the things you can create! My grandmother loved to do this type of knitting and enjoyed taking two colors to match the themes of our bedrooms and make Afghans. This is a fantastic project to undergo since it allows you to create something personal for those you care about. You can also make pot holders, sweaters, picture frames and so many other wonderful items!
Need More Help?
If you need more help learning how to do this type of craft, check with your local community college. Many places offer evening hobby classes that can help you become more versatile in your knitting ability. There are also some fantastic books both online and in your local library that will explain things in deeper detail. Good luck on your quest to produce beautiful items through double knitting!


Comments are closed.